There has to be someone out there writing tingly poetry about jam.
If not, here you go:
Jam by Lacey H
Smooth, raspberry jam.
Red. Full of texture. Small seeds.
Hand me a biscuit.
(Now that's out of the way)
Enjoy peak ripeness fruit year round by preserving it. Typically, I like to reap the rewards of picking my own fruit at a local farm (shout out to Porter Farms in Raleigh and those mesh buckets holding seashells now) and making a jam.
This year, I folded and bought bulk instead of picking my own. The idea of taking a 1.5 year old and actually getting the fruit I want didn't seem doable. We will try next year.
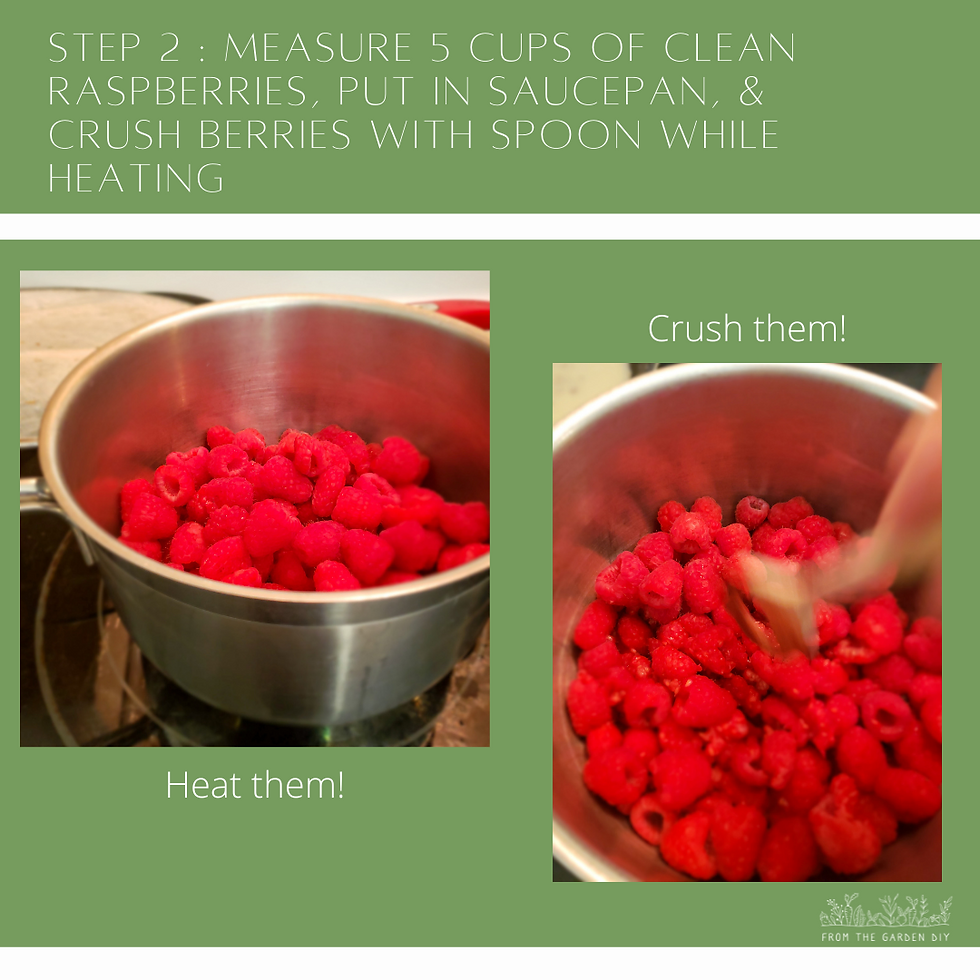
Here is how I made homemade raspberry jam:


SURE JELL includes a complete insert with reference chart for canning almost anything. Here is a link on where to buy this.
I used this insert as a basic guide for food measurements & sealing time but strayed when it came to the process a little.


Listen, I know, where is my canner & rack?! It's in a box in a closet.
We bought our house at the end of 2019 and I had a baby the following February 2020. Only now in Summer 2021 am I able to even consider unpacking some boxes of non-essentials. So, I made it work. And every seal took.

Because I didn't have my rack I couldn't just pull these out. I used a long set of tongs. I don't recommend this. Purchase a jar lifter instead for $7. They are jar lid shaped tongs. Here is a popular brand.

Now is the fun part. Be creative with labels. These were leftovers from last year so nothing fancy.
I think homemade jams are the perfect gifts. And if you picked the berries yourself, the person will love it even more. Imagine when they take that hot buttered biscuit and slather this on top - they are going to remember you (& your jam) always.
Project time - 2 hours (without cooling time)

Comments